SnapFrame
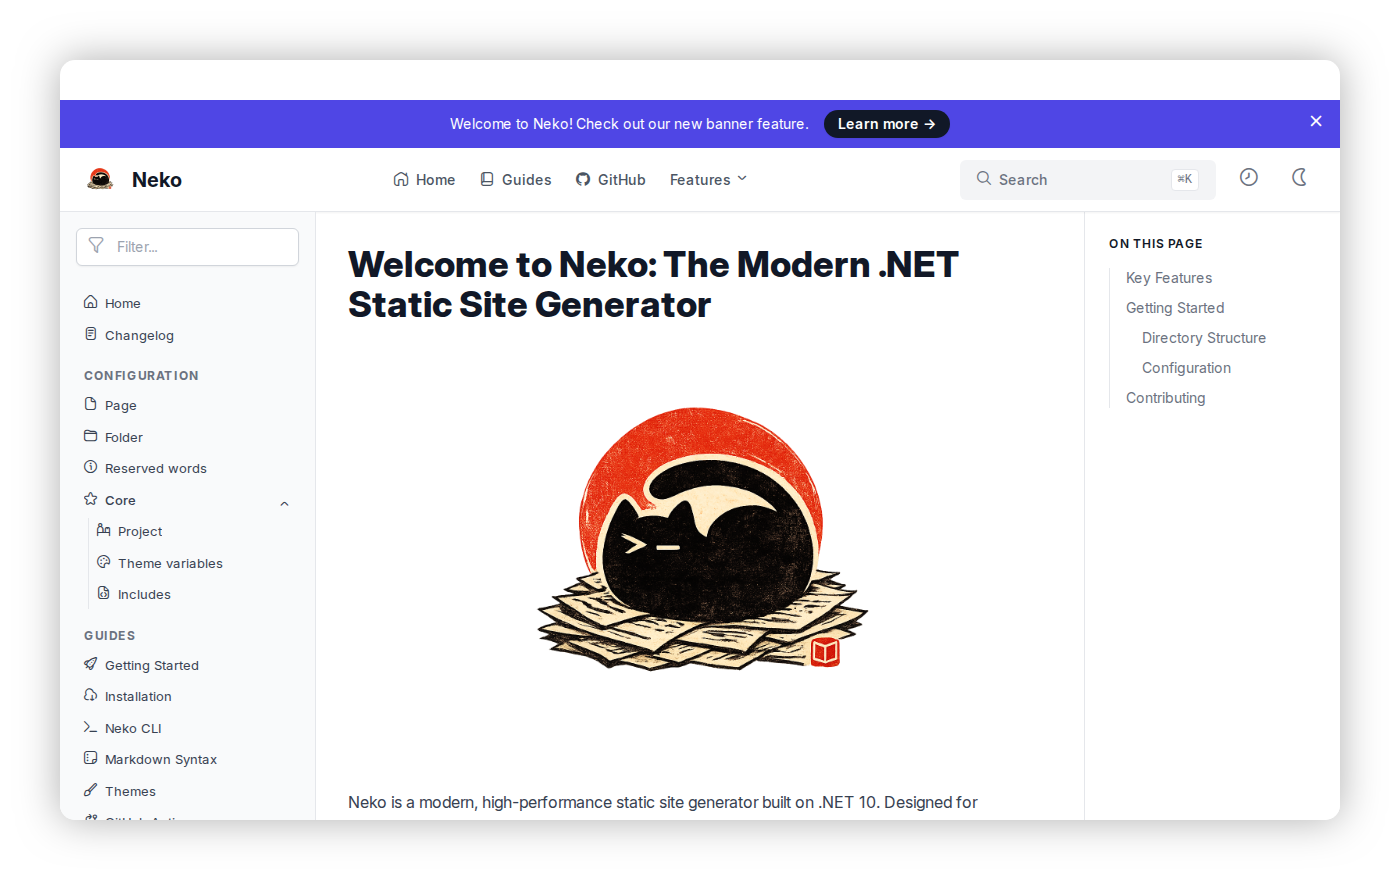
The snapframe extension allows you to easily embed automated screenshots of external websites directly into your documentation. Under the hood, it uses the SnapFrame .NET tool to navigate to the specified URL and capture a screenshot.
Capturing is not done during neko build. Instead, run the dedicated neko snap command to refresh screenshots. This keeps regular builds fast and offline.
neko snap            # capture only missing screenshots
neko snap --all      # re-capture everything, overwriting existing images
neko build continues to render the image tag exactly as if the file were a hand-authored asset. If the image is missing, the <img> simply 404s until you run neko snap.
Basic Syntax
To use it, add the [!snapframe] tag on a line immediately before the Markdown image block. You can pass the URL and any optional parameters accepted by the snapframe capture CLI command.
[!snapframe https://neko.curiosity.ai]

Optional Parameters
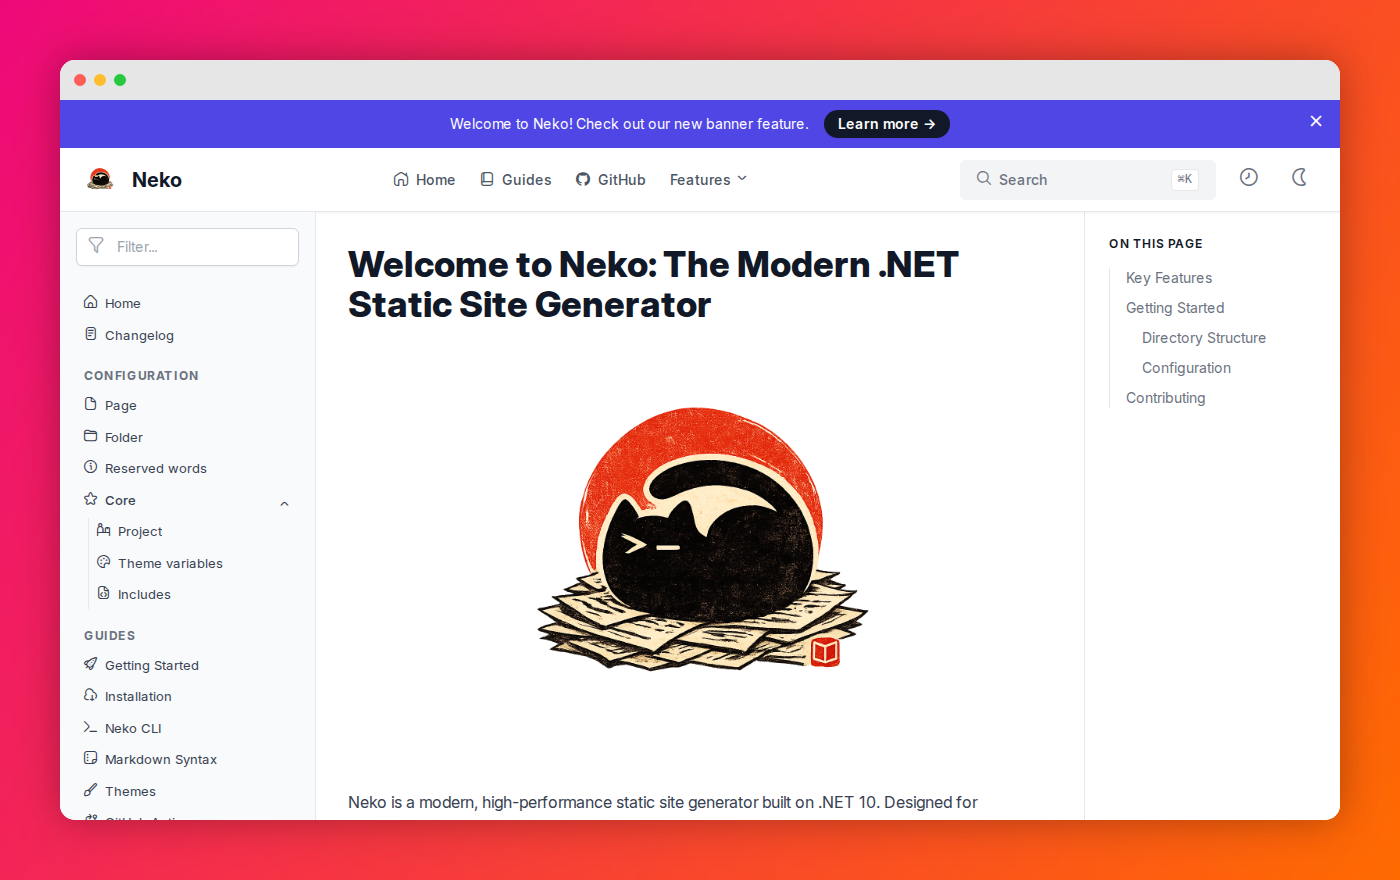
You can also pass additional CLI arguments inside the [!snapframe] tag to customize the screenshot (e.g., adding a browser window chrome or changing the background).
[!snapframe https://neko.curiosity.ai --chrome macOS --bg GradientSunset]

Available options mirror the snapframe capture command:
--chrome <macOS|None|Windows11>: Window chrome style.--bg <Gradient|GradientAqua|GradientBreeze|GradientCandy|GradientMidnight|GradientPeach|GradientSunset|Transparent>: Background style.--full-page: Capture the full scrollable page (not just the visible viewport).
Command Execution
You can execute a series of commands on the page before taking the screenshot. Each line after the URL maps to one snapframe CLI call to execute a command on the page.
Supported commands are click and interact.
[!snapframe http://localhost:8080/#/admin/endpoints
click 'sample button'
click 10 20
interact #elementId value='text to type']

How It Works
neko snap walks your input directory, finds every [!snapframe ...] directive paired with an image tag, and:
- Skips entries whose target image already exists (unless
--allis passed). - Runs
snapframe navigate-json <url>to open the page. - Optionally executes the
click/interactcommands listed after the URL. - Runs
snapframe capture <page_id> <path> <options>to write the file. - Closes the Playwright page.
Once captured, the image lives in your repo just like any other asset. Builds stay fast because the capture pipeline is opt-in.